Elizabeth Tran

0 %
Elizabeth Tran
Graphic Digital Marketer
  • Country:
    United States
  • State:
    Washington
  • City:
    Renton
Canva
Hootsuite
Microsoft Office
Photoshop & Illustrator
WordPress
  • Asset Creation
  • Copywriting
  • Creative Branding
  • E-commerce
  • Email & Marketing Campaigns
  • Leadership & Mentoring
  • Multichannel-Marketing
  • Problem Resolution
  • Social Media Design & Marketing
  • Web Design & Maintenance

3D House Model

Background/Context

My Design Application class at Bellevue College started in Fall 2022. My professor wanted us to create a project or our choice that had to do with design. The project timeline would take half the quarter and we had to submit some pictures of our progress to show that we are doing work and are on track to finish by the deadline. The design project I chose to do was model a house using Blender because I don't have much experience working with a 3D software and I know it can be used for real world application. I wanted to grow my knowledge with design while increasing value to my portfolio. 

Action

I created a 3D house model with walls, doors, windows, furniture, and lighting. As the project progressed, I started changing some layout, furniture color, and overall ideas around so it could turn into a project I was proud of.

Sketch

I started by creating the exterior wall of the house. I would create the walls by extruding on a plane around the house to get the foundation created. Once I connected the exterior walls together, I would extrude the walls again to give them height while also extruding doors and windows for the house.

Once I was happy with the exterior walls, I moved onto the interior walls. I wanted to create a laundry room, a bedroom, a bathroom, a kitchen, a dining room, a living room, a storage room, and some stairs to a second floor. My process for creating interior walls was very similar to exterior walls where I would extrude the interior walls on a plane, and then extrude them again for height while extruding doors inside the house too.

Adding Furniture

Once I built the wall foundations for the house, I added doors, windows, and furniture to make it feel more homey. My professor wanted the class to keep contrast in mind during this checkpoint. I wanted the house to have a white/gold color scheme to make the house look more elegant and modern. I also wanted to do something with a wooden material here and there just because it adds a nice, neutral color to the house and wood also lasts a long time. Below is a slideshow of my progress at the time in color and greyscale to see the contrast that is slowly being built.

Edits & Flooring

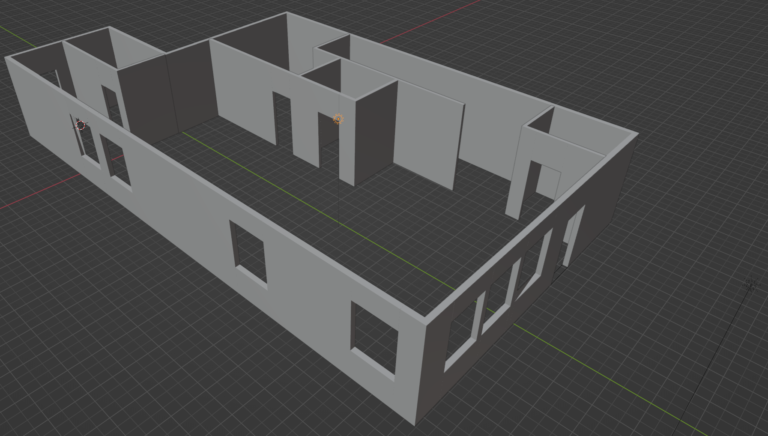
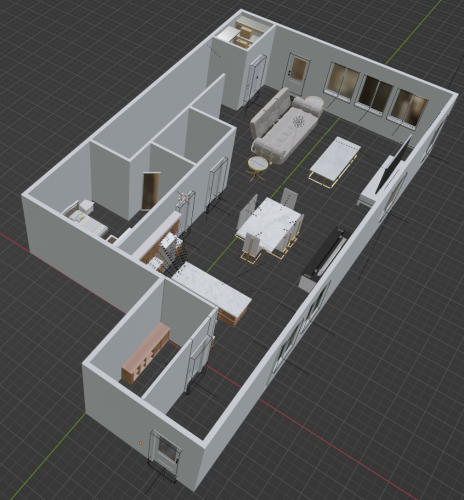
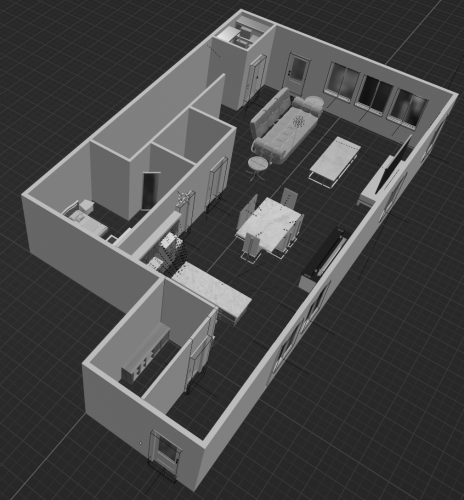
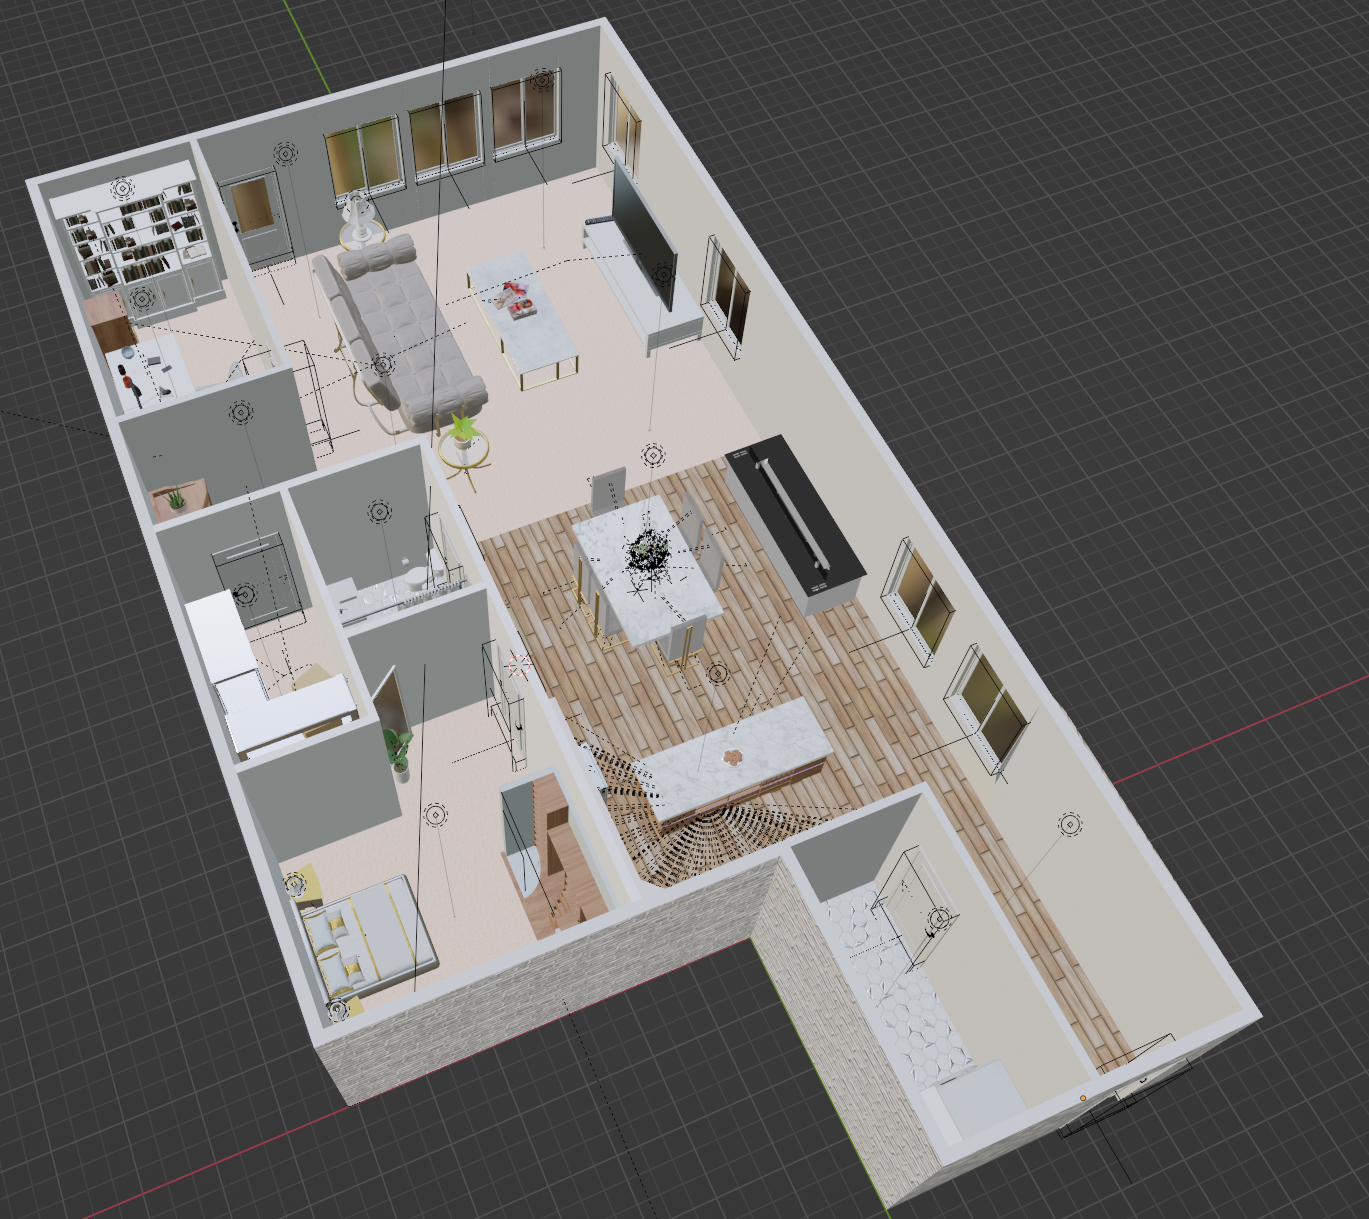
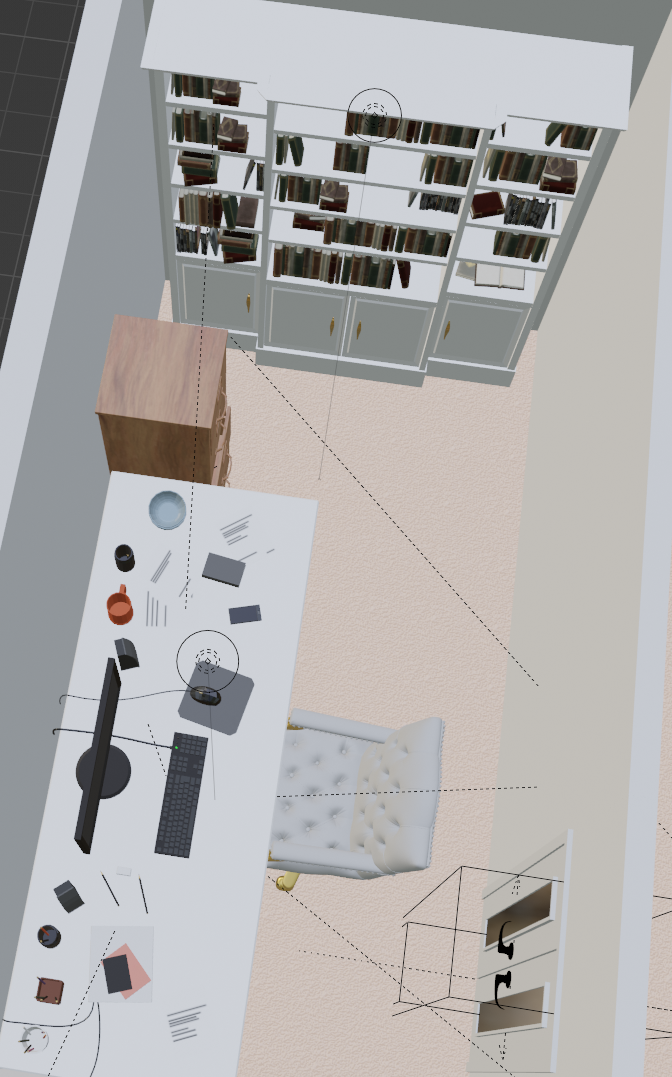
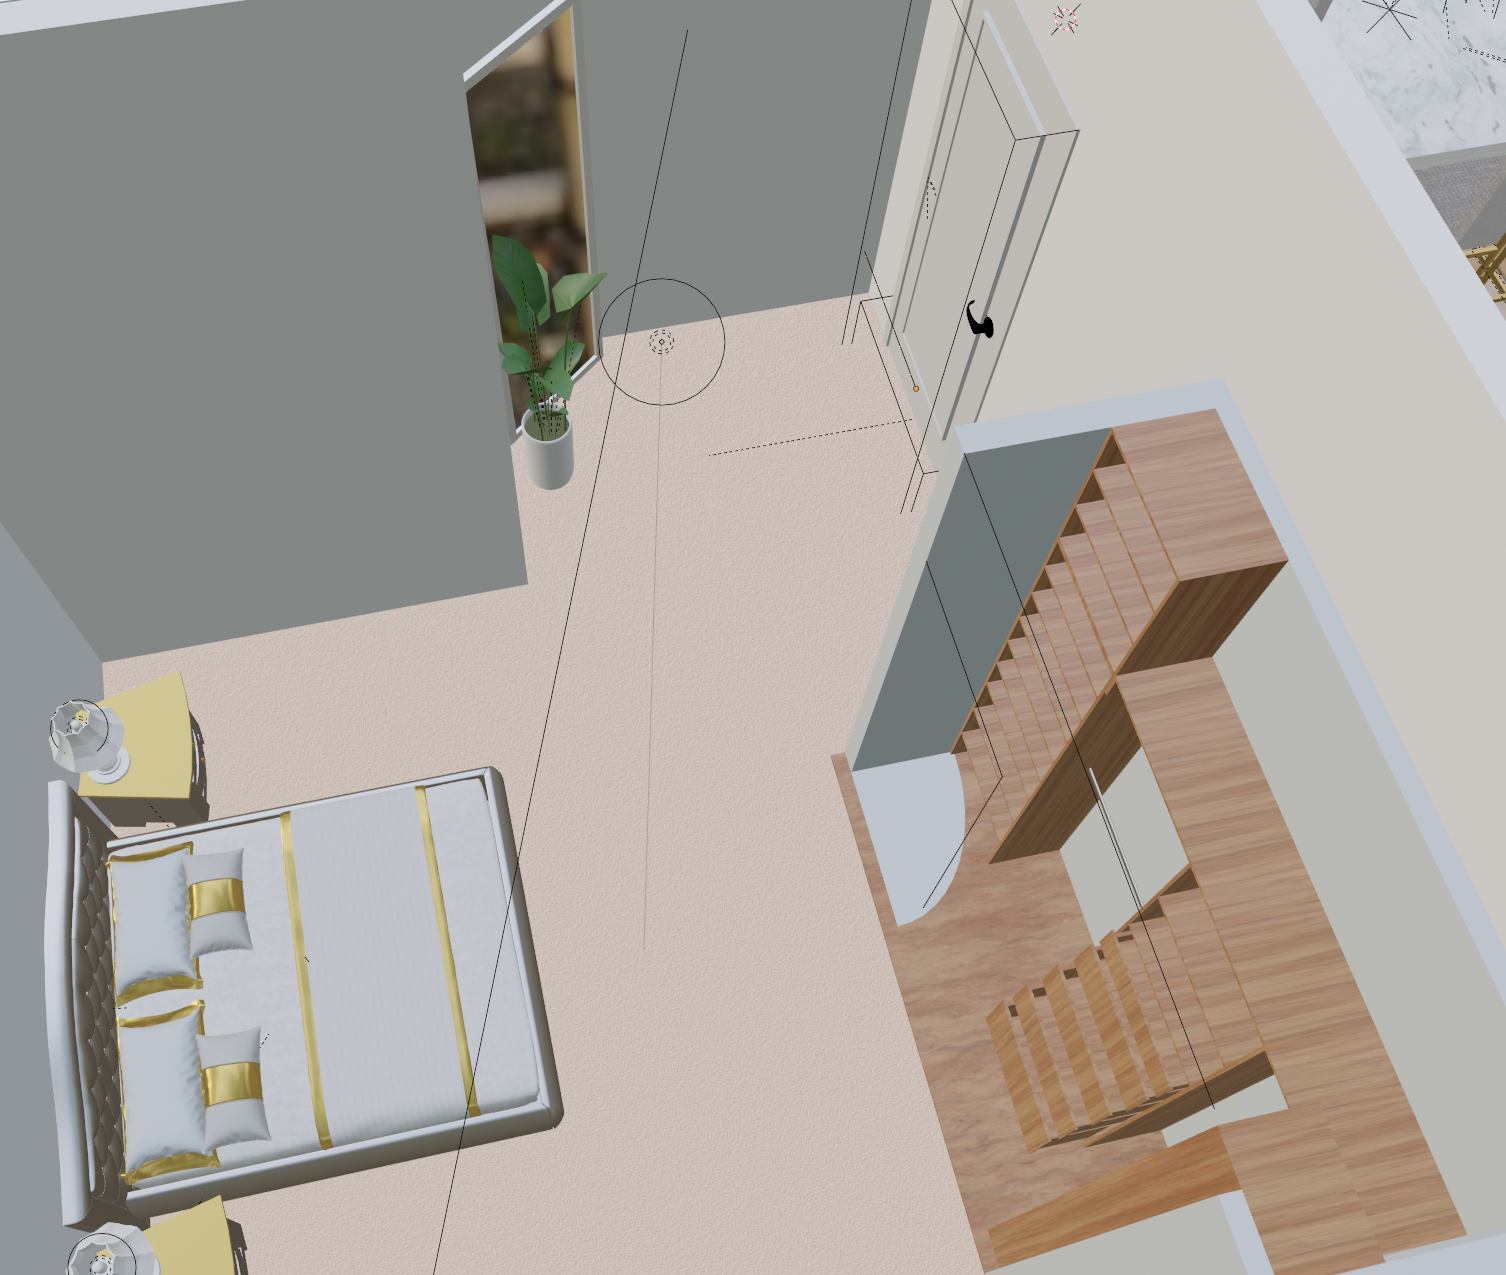
After adding all the furniture, I realized that I didn't have enough time to add another floor before the deadline so I went to change the interior layout a bit since the project is freeform. I turned the original storage room into a den/office and where the stairs were supposed to be, the new storage room.

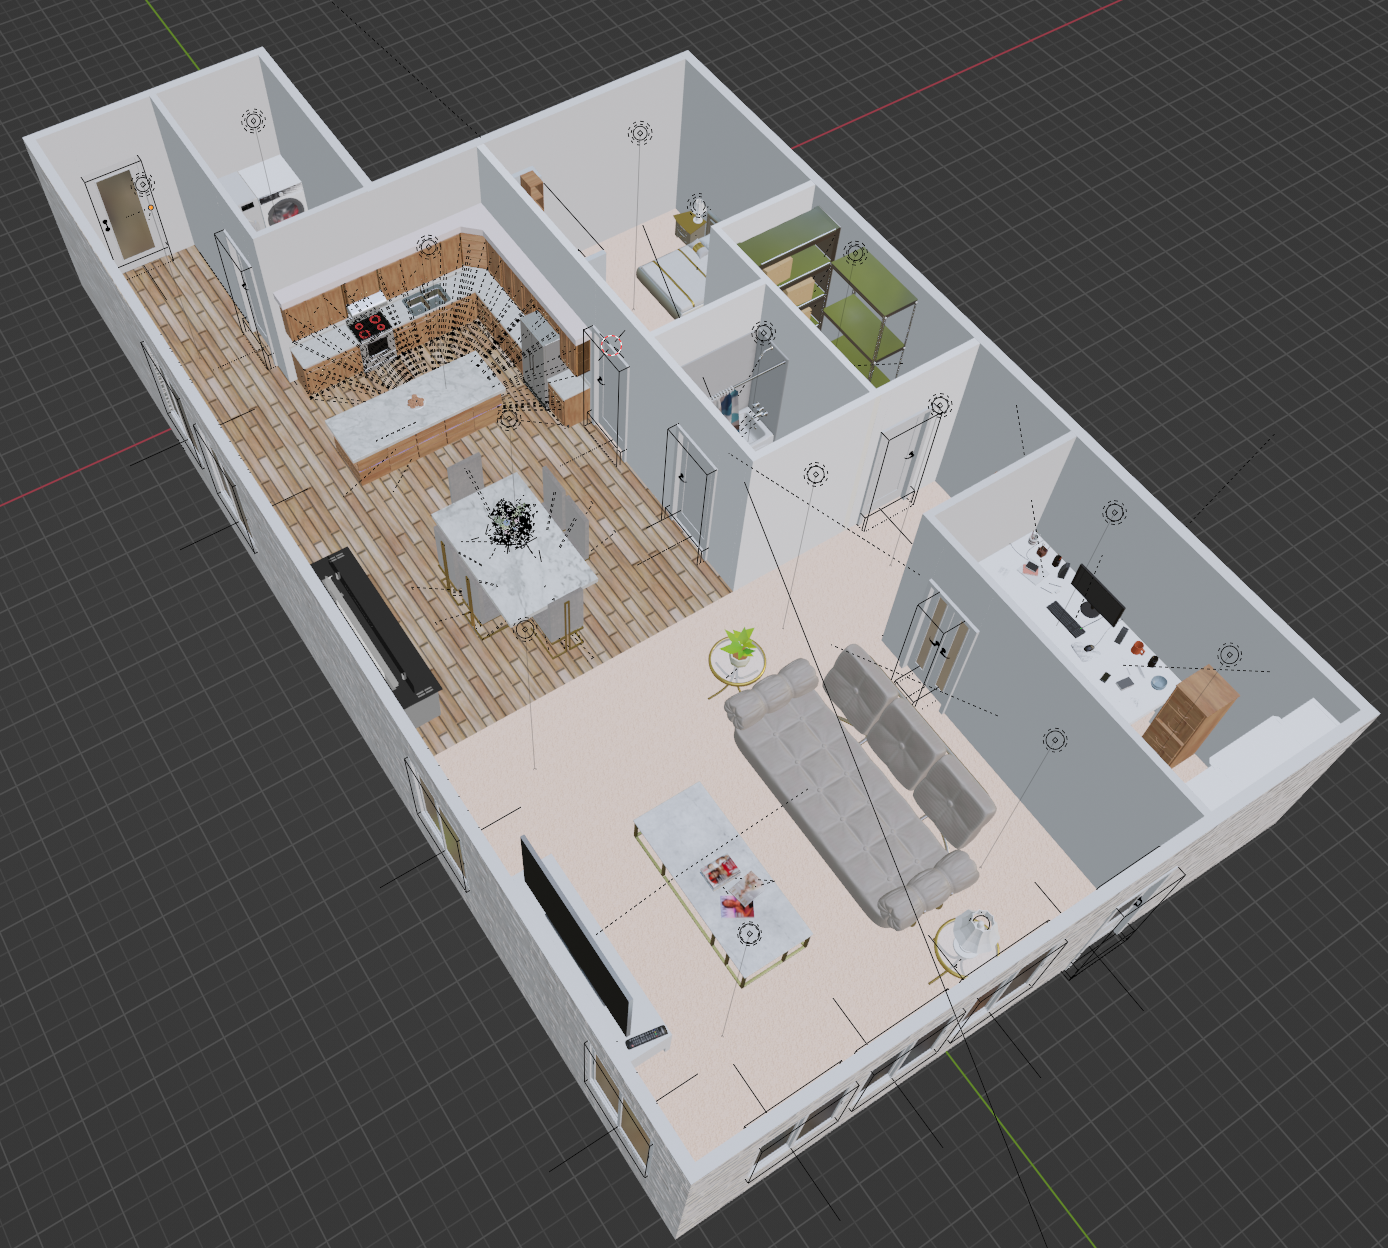
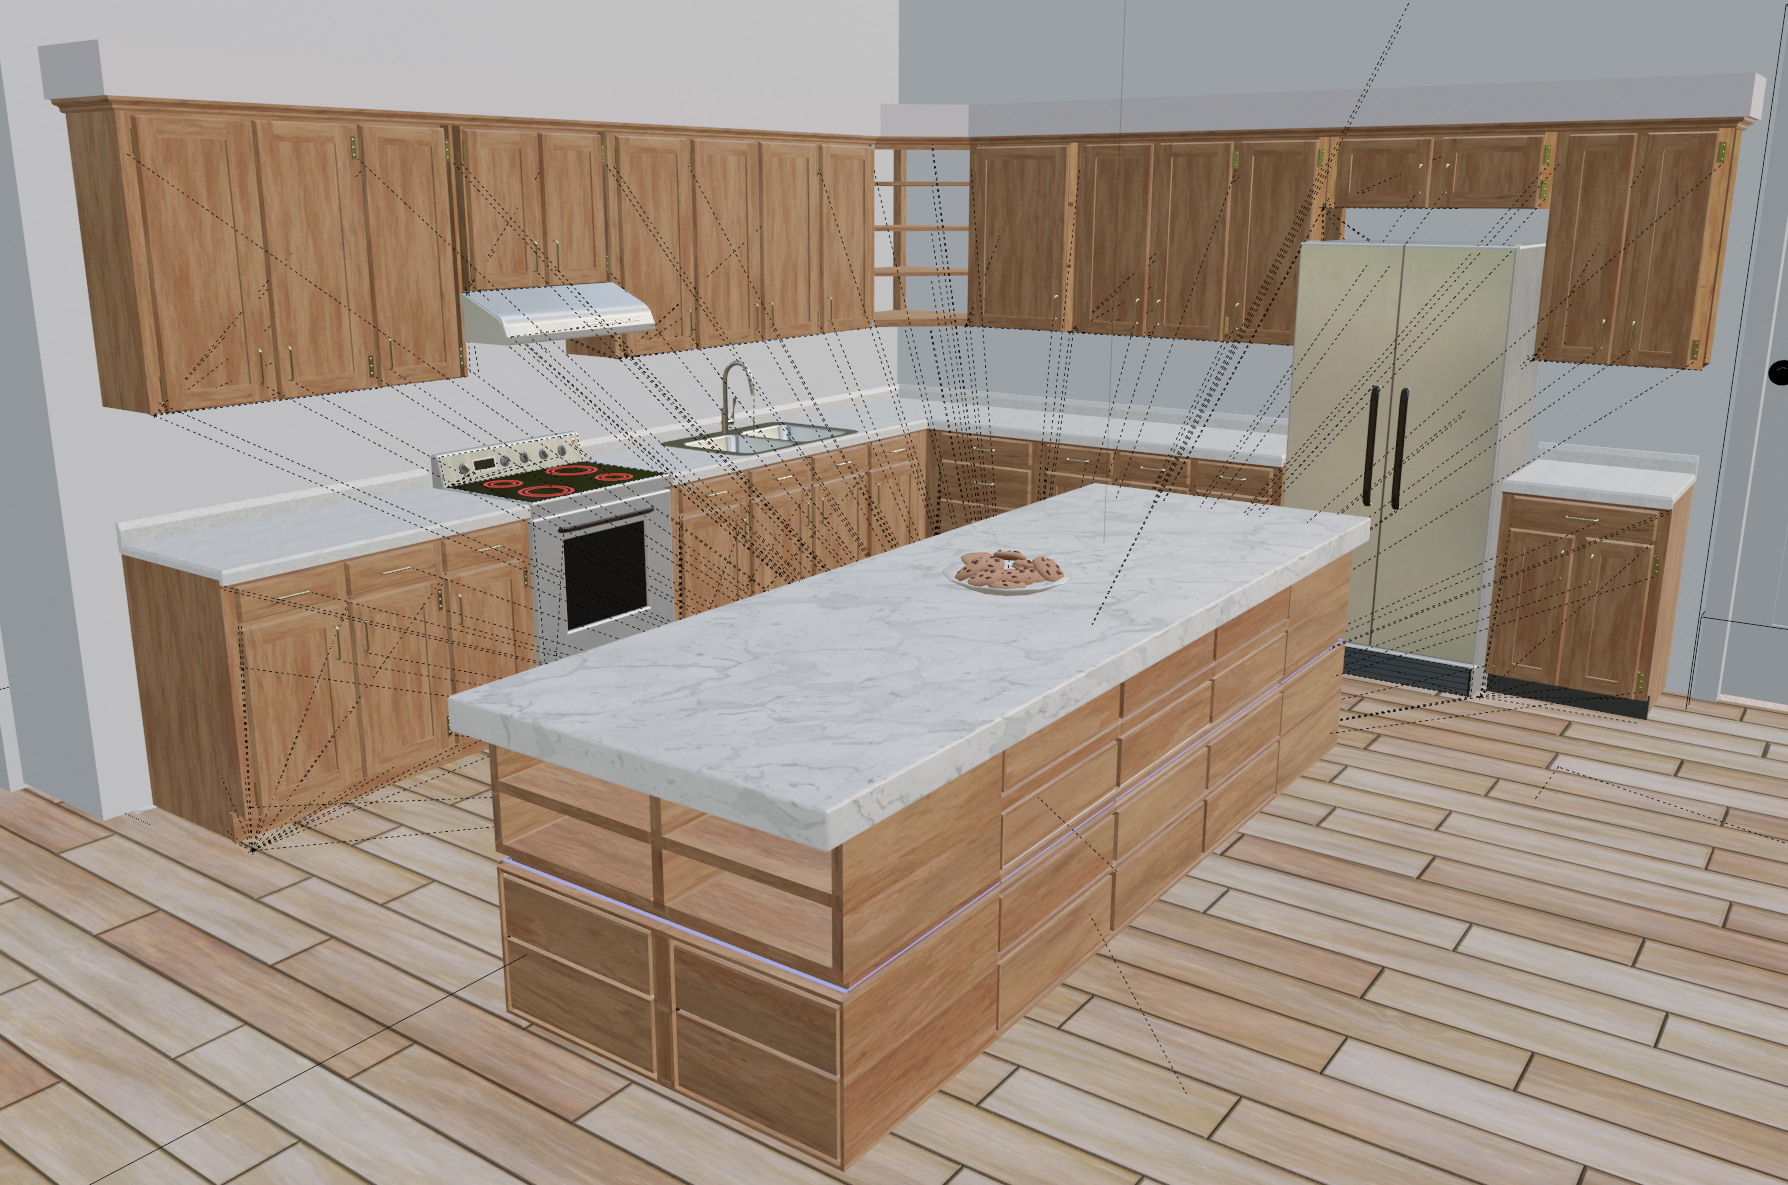
I had to move some furniture around and add new furniture in, but I would like to think I did well in the edits. I also wanted to add some little decorations/trinkets to the house so some surfaces don't feel empty. I added a couple of table lamps and plants around the house, as well as some things you might see in houses like magazines, a TV remote, and cookies for snacks.

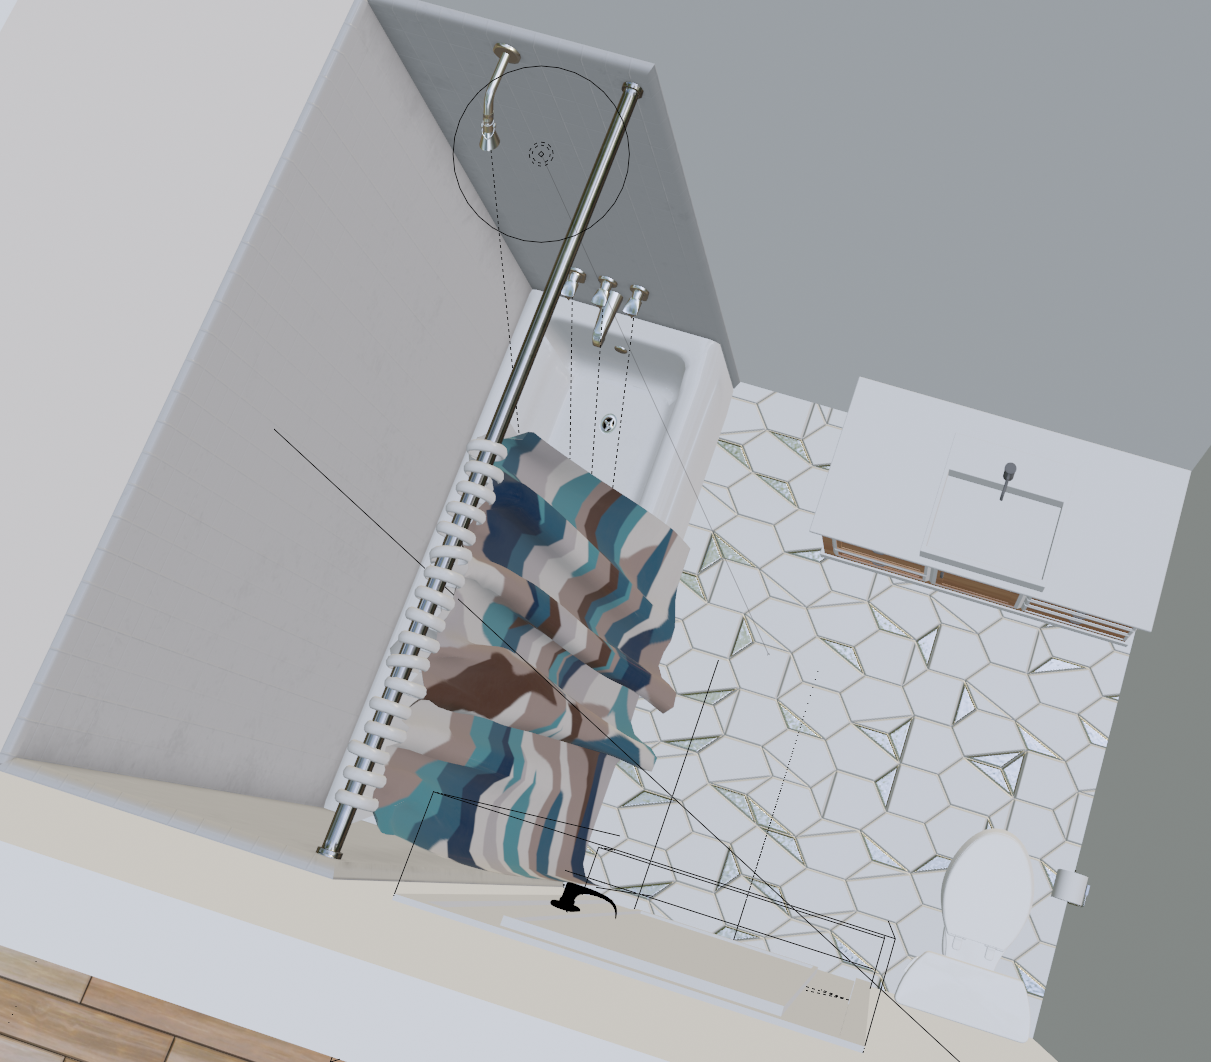
 I wanted to make sure the house had flooring so that people can walk around safely and really have it feel like a house they'd live in. I added a carpet to the bedroom, storage, living room, and den while adding wooden floors to the dining room, kitchen, and the back door hallway. For the laundry room and bathroom, I decided to add a tile like flooring to indicate that these rooms are different.

Results

Overall, I am very happy about the project and how I was able to build a 3D house model with no prior knowledge of 3D and how to use Blender.

Unfortunately, Blender didn't let me render the model at the end (I think the file size was too big). Since I was new to using Blender and 3D in general, I didn't know what the purpose was rendering was until it was too late.

Some things I would change if I were to do another 3D house model in the future is to render at every stage to make sure the project can successfully render, strategically place the windows when creating the layout/rooms, and add outlets and light switches to each room.